SUPPLIES & TOOLS:
- 5 yds Fabric A
- 3/4 yd Fabric B
- 3/4 yd Fabric C
- 6 yds coordinating 1" ribbon
- 1 pkg Stitch Witchery®: Heavy
- Tent: 2 pkgs .44 grommets with tool
- Sit-Upon: 2 pkgs 1" snap-on grommets
- 16" pillow form
- Duct tape
- Marking pen
- Ruler
- Iron & ironing surface
- Tent Posts: Three 48" PVC pipes, broom handles or cardboard tubes
DIRECTIONS:
WOF = Width of Fabric
TENT
1. Cut three 60" x WOF from Fabric A.
2. Place fabric right sides together along the selvedges, and use the Stitch Witchery® to bond the fabric to create one large tent piece.
3. Press top raw edge under 10" and bottom raw edge under 1". Use Stitch Witchery® under the raw edge to permanently hold in place.
4. Measure 9" down from center top edge of the tent. Mark the location for a grommet. Measure and mark every 6" from the center for a total of 17 marks. Attach grommets on each mark, following the package directions.
5. Cut 2 yds of ribbon. Thread ribbon in & out through the grommets.
6. Assembly: Arrange the 3 posts in a tripod; duct tape in place where they intersect. Drape tent fabric over tripod, gather the tent & tie the ribbon. Adjust fabric to cover the tent posts.
SIT-UPON
1. Cut a 24" square from Fabric B.
2. Cut a 24" square from Fabric C.
3. Press raw edge under 1" around perimeter on both squares. Use Stitch Witchery® under the raw edge to permanently hold in place.
4. On both squares, measure in 2" from the edge of each corner & the center of each side. Mark the location for grommets. Each square requires eight marks for grommets.
5. Attach grommets to each square, following package instructions.
6. Place the Fabric C square on a flat surface. Center pillow form on top. Place the Fabric B on top of the pillow form with right side of the fabric facing up. Lace ribbon in & out through the grommets & around the pillow twice. Tie a ribbon bow.
 No Sew TeePee and Sleeping Bag - This fun and free projects suggests using extra wide Fleece fabric
  to make but don't be confused because most fleece fabrics measure 59" and that is wide enough to make the Tee Pee and sleeping bags. Once you have your fabric this is a really easy project to make.
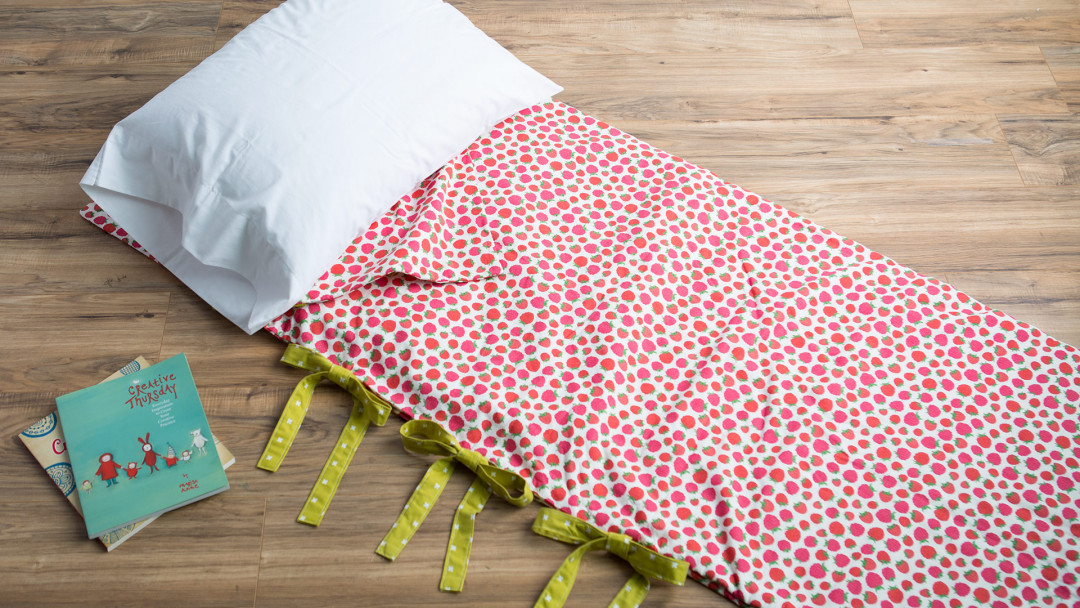


This comment has been removed by the author.
ReplyDelete