Wednesday, March 18, 2009

How to Make Homemade Lollipops

Lollipops can be made from a kit (as shown) or from scratch as explained below.

The secret to making lollipops is to assemble all molds and other equipment before making the candy. Once the candy is ready, you must work quickly to get it poured and to get sticks or cords inserted before the candy hardens. If candy sets up in pan before you get it poured, it can be re-heated over low heat if it has not already hardened too much. Be careful the mixture is very hot! It hardens and cools quickly once it touches the cold metal of the molds.

Instructions: Things you will need: Vegetable oil; lollipop recipe; icing (optional); sugar Tools & Equipment: Metal lollipop molds or cookie cutters; pastry brush' lollipop sticks, popsicle sticks, gift-wrap cord, or fabric ribbon, aluminum foil; plastic wrap.

1) Assemble all molds or cookie cutters and brush inside surfaces with oil. Arrange molds, leaving room between them to insert sticks or cords. If using cookie cutters, arrange on large piece of aluminum foil.
2) Assemble sticks, or cut cord desired length if you wish to hang lollipops.
3) Prepare lollipop recipe. Quickly pour hot candy mixture into prepared molds, or in cutters about 1/8 inch deep. Once all mixture is poured, press sticks in indentions of molds, and twirl sticks to embed them in candy. If using cookie cutters, wait until candy is firm around edges but still soft in center, then lift off cutter and press stick or cord into candy. If candy hardens before all sticks are inserted, you can attach them with a small amount of hot lollipop mixture. Let cool.
4) Release shapes by lifting out of molds, or peeling away from aluminum foil if cookie cutters were used. Outline or highlight shapes with icing, if desired.
5) Wrap lollipops tightly in plastic wrap and store in a cool dry place.
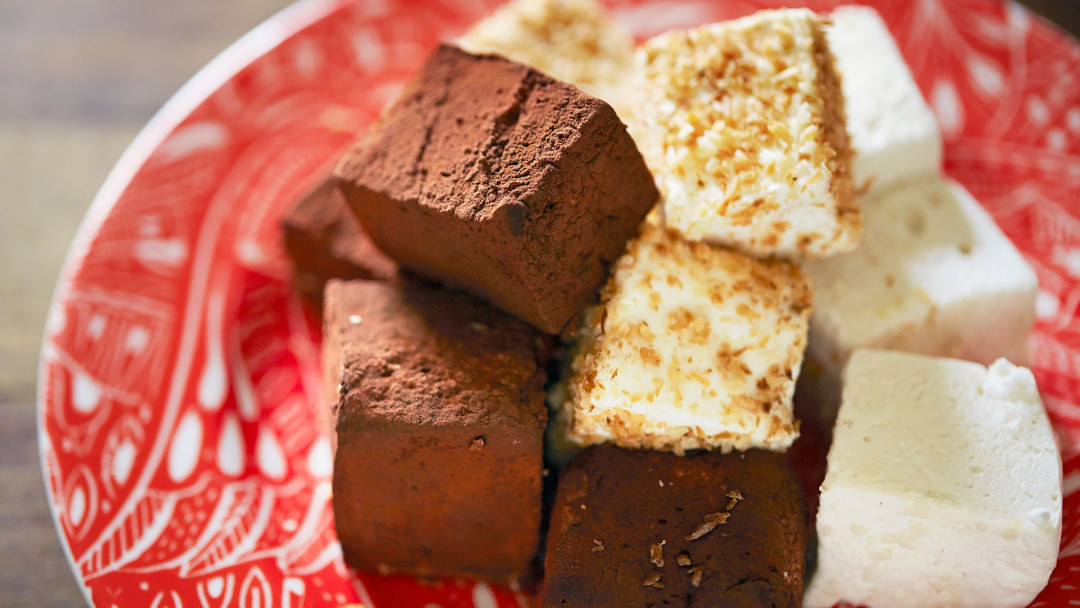


Make Homemade Marshmallows by Karen Solomon

Monday, March 16, 2009

A Soft Yarn That is Great for Any Project Knitting or Crochet

Saturday, March 14, 2009

Organize Your Workspace with a Desktop Carousel

Having an organized workspace can make all the difference in the world, and now with Storage containers it is quick and easy. With these wonderful containers you can store everything from small embellishments to your working tools. Desktop Carousel- Display and organize your favorite scrapping tools and accessories with this Desktop Carousel. Just load up the many compartments and drawers and place it on the table to have everything you need right at your fingertips. It is made out of sturdy MDF, is 6 sided-each with metal label holder, has 6 drawers with metal handles & magnetic closures and has 10 vertical compartments. Dimensions: 12 1/8" width x 14" depth x 8 ¼" height

Hot Items at CreateForLess

Friday, March 6, 2009

Download and Printable E-Cuts Easter and Spring Scrapbook Collection


Welcome to the Future of Scrapbooking! E-Cuts are printable scrapbooking supplies you download, print, cut out and use on your scrapbook pages, cards, and other paper projects.

E-Cuts are unlike any product currently in the scrapbooking market: This is instant gratification scrapbooking at its finest. Get the beauty and style of intricately detailed tags, title boxes, photo mats, journaling boxes, shaker boxes, photo corners, and other page elements without all the bulk. Spend a fraction of the time at a fraction of the cost for a fortune in artistic design! Unlike traditional scrapbook kits, E-Cuts can be printed as many times as you want right from the comfort of your own home. This is the easiest scrapbooking you'll ever do.

# Available for instant download.
# Create stunning layouts in just minutes.
# Intricate handmade designs without all the work.
# Print as many times as you want.
# Buy them once and use them forever.

Popular Posts

Total Pageviews