
Believe it or not, these were inspired by patterns first featured in Family Circle 34 years ago. With requests still coming in, the magazine figured a reboot was in order. Streamlined instructions, richer colors and a simpler granny square are all part of the 2011 update.
Scroll down for the Knitting version and additional crochet Santa stocking pattern
 and to print these patterns.
Granny Square Stocking
Skill Level: Beginner
Granny Square Stocking
Skill Level: Beginner
Materials: Lion Brand Wool -Ease yarn, 3-oz. skeins: 1 skein each of Forest Green Heather (G), White Frost (W) and Cranberry (R). Size H crochet hook, or any size to obtain stitch gauge below. Tapestry needle.
-Ease yarn, 3-oz. skeins: 1 skein each of Forest Green Heather (G), White Frost (W) and Cranberry (R). Size H crochet hook, or any size to obtain stitch gauge below. Tapestry needle.
Gauge: Working in single crochet, 9 sc = 2"; 6 rows = 1"
Instructions

- Make 18 Basic Squares (see below) for front and back.
- On 2 Basic Squares, using R, complete an additional sc rnd around edge, making corners same as for R rnd in Basic Square. These are Toe Squares.
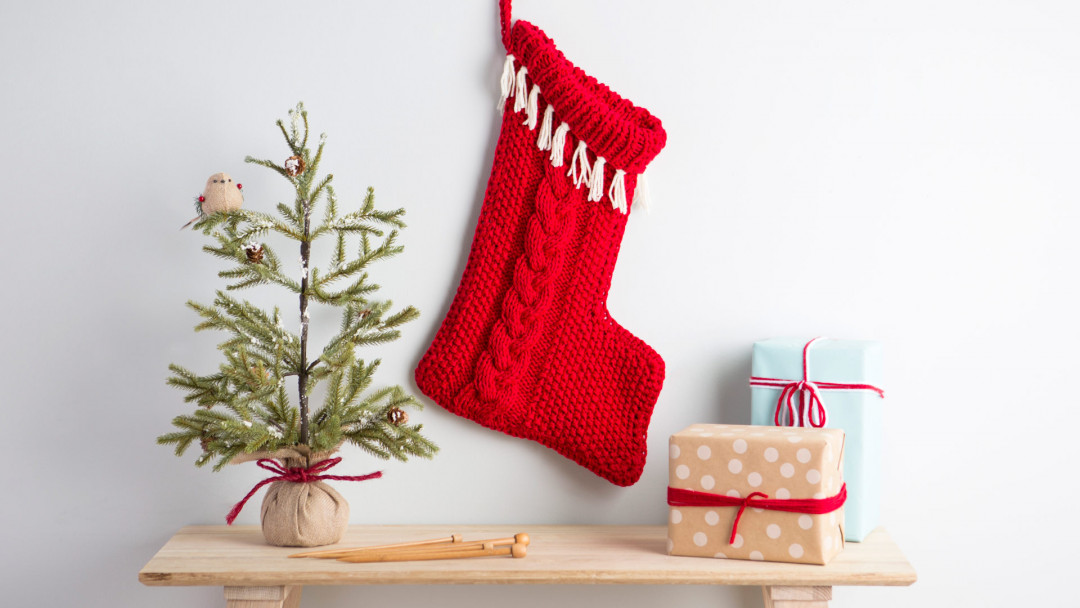
- To assemble front, arrange 8 Basic Squares and 1 Toe Square as shown in photo. Using R and tapestry needle, work through back loop of each st to stitch squares together in rows. Stitch rows together to complete front.
- To assemble back, arrange remaining squares in same way, but place Toe Square on opposite side so back is mirror image of front. Stitch together in same manner.
- Place front and back with right sides out and edges even; using R, stitch together along sides and lower edges.
- At upper edge, with 2 strands of W, make a loop on hook, insert hook in any st and draw up a loop, complete a sc; make a sc in every st. Join with sl st at end.
- With G, make loop and make row of sc in every st same as for W rnd. Continue in same manner with G until cuff measures 3". With 2 strands of W, make additional sc rnd. Fasten off.
- To make hanging loop, with G, ch 25. Row 1: Make a dc in 3rd ch from hook; make a dc in each ch across. Fasten off.
- Fold loop in half crosswise; stitch ends inside upper back edge of stocking.
Basic Square: Starting at center with G, ch 4. Join with sl st to form ring. Rnd 1: ch 4, work (dc in ring, ch 1) 7 times. Join with sl st to 3rd ch of ch-t (first 3 ch of ch-4 counts as 1 dc – 8 ch-1 sps. Cut yarn and fasten. (Note: To prevent loose ends, lay each end of yarn along top of last rnd made and crochet over it for 2 or 3 sts of following round, then cut end close to work.) Rnd 2: With W, make a loop on hook, yarn over hook (there are 2 loops on hook), insert hook in any ch-1 sp and draw up a loop, complete a dc, 2 more dc in same ch-1 sp, * ch 1, make 3 dc in next ch-1 sp; rpt from * around, end with ch 1. Join with sl st to top of first dc – 8 3-dc groups. Rnd 3: With G, make a loop on hook, yarn over hook (there are 2 loops on hook), insert hook in any ch-1 sp and draw up a loop, complete a dc, make 2 more dc in same sp, * sk 3 dc, in next ch-1 sp make 3 dc, ch 1 and 3 dc for corner; sk 3 dc, make 3 dc in next ch-1 sp; rpt from * 2 more times; sk 3 dc, in next ch-1 sp make 3 dc, ch 1 and 3 dc. Join with sl st to top of first dc – 4 corner groups. Rnd 4: With R, make a loop on hook, insert hook in any st and draw up a loop, complete a sc; make a sc in each st up to corner. At corner, make 2 sc, ch 1, 2 sc in corner st, continue around edge in same manner, join with sl st to top of first sc to finish square.


No comments:
Post a Comment