A small laminate table especially for the corner of a room can easily make great storage for a bath or bedroom or any small space. I have a small bathroom with no linen closet but had this black laminate corner table collecting dust (as you can tell from the photos) in my basement. It was the perfect size for my bath except it was the wrong color so instead of painting it I decided to use contact paper on the table.
Before you get started be sure that you want to change the color of your table as contact paper has a sticky side and may damage the surface if you try to remove it after it has been applied for a while.
Here are the Instructions on How to Makeover the Table Step-by-Step
1. Start with an inexpensive table that you don't mind if the color changes. I would suggest doing this on a non-carpeted floor as the sticky side of the contact paper may collect pet hair and other things off the carpeting.
2. Gather up the tools you will need for your project. This will include something to clean off your table with, a tape measure , a ruler, contact paper, a pencil, and scissors
  or a razor blade to cut your contact paper with.
3. When checking out contact paper make sure to get enough of the color that you want for your table and that is has a self-adhesive backing. This will make it easier to fit to your table.
4. Clean all the dust and stains off of the table. This is important to do before you begin because the contact paper will stick to anything under the table and show through so you will want a clean, smooth surface before you begin your project.
5. Disassemble your table and remove the shelves. Be sure that you take photos or mark items in order to put the table back together properly. Layout your contact paper on a smooth, flat surface and begin to mark and measure where you want to cut your contact paper. You can trace it on the back of the paper or cut around. I would suggest having enough contact paper for trial and error purposes.
6. Place the table on the cut piece of your contact paper and make sure that it will fit properly before making any additional measurements or cuts.
7. Before removing the back layout how you would like your contact paper to go on. We have hole in our table so I had to mark with a pencil where the holes where in order to cut them out correctly. I decided to wrap the paper around the edges of the table. Realizing this would work better on a square or rectangular table, I would suggest now if you have a corner table  to cut and measure the contact paper for the edges separately.
8. Smooth out the surface as you are placing the paper on to the table to remove any air bubbles. You may want to use a plastic paint shield or something to smooth out the paper as you lay it on the shelf. You can cut around any holes with scissors or a knife/blade as you go.
9. Make sure that you like the look of the paper you choose with the table. I am thinking of doing something with the end table legs to change the color to white to match the room I am putting it in. Be careful while you can remove contact paper  fairly easy over time it may damage the original finish.
10. Make sure to have proper lighting and a good surface to remove any air bubble and t smooth out any wrinkles.
11. Secure the contact paper tightly around your shelves. Trim off any excess edges and touch up any errors. Begin to put your table back together to see the results of your finished project.
12. This is my finished project. While I am going to be fixing up the edges in the front because of some wrinkles and possibly changing the leg color I do like the finished project especially because it will now match the room better. In order to fix the edges I will have to trim them off and reapply or I may just match them to the leg colors when I change them.
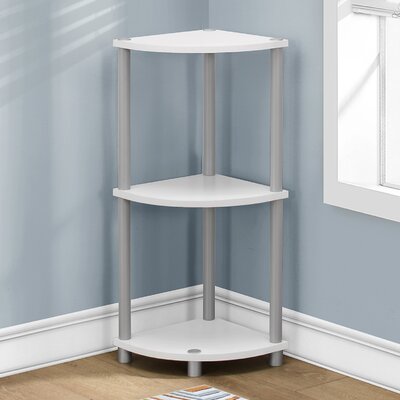
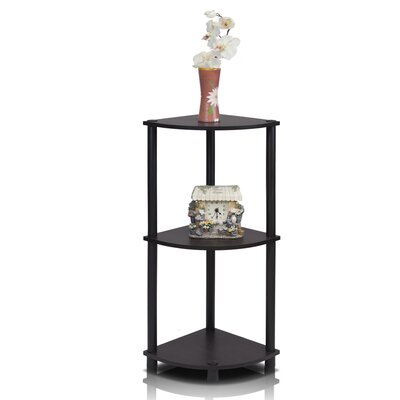
Here are some Great Corner Tables...


